If you’re thinking of painting your mailbox, there are a few things you should keep in mind first. As a starting point, it seems to be in terrible condition and in need of restoration.
First and foremost, it does not match the color of your home’s outside paint, and you would prefer that it did.
Second thing, use the sealer after using the paint to make it more water-resistant.
Third, you want your mailbox to stand out from the rest of the neighborhood by featuring a one-of-a-kind hand-painted design.
But, can you use acrylic paint on a mailbox? Well, that’s the answer that you will get in this article.
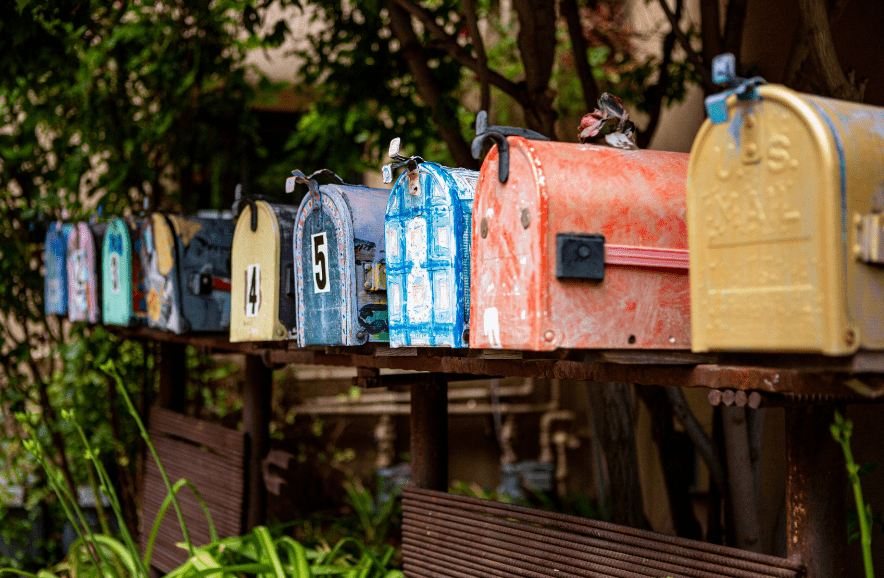
Can You Use Acrylic Paint on a Mailbox?
Acrylic paints can be used to decorate your mailbox, and this is certainly a possibility. A mailbox painted with acrylics is the ideal option since they dry fast, are water-resistant, and are very durable.
It has fast Drying Property- Painting your mailbox, whether for customization or to give it a facelift, is a straightforward procedure. This is due to the fact that acrylic paint is simple to apply and dries fast. It is possible to finish the whole procedure in less than one day.
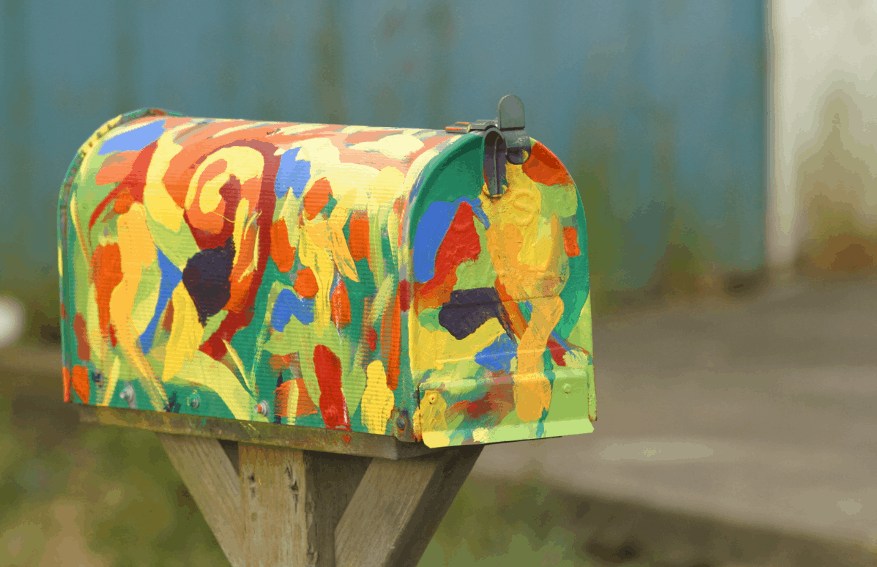
Water-resistant– Acrylic paints are resistant to water. You may use the paint in the monsoon and winter period also, as it won’t fade or lose its shine. Moreover, acrylic paints are not fully water-resistant. It is highly recommended to apply the sealer after using the acrylic paint to give it a water-resistant finishing look.
Durable– This paint has fewer toxins. They are soluble in water when wet and have plastic polymer therefore dries faster and on a durable surface. Also, they are flexible and more durable than oil paints.
Easy to use– Acrylic paints are considered the best option for beginners as they are very handy. This paint is considered the best, as it dries quickly and is beginner-friendly paint. It requires less material and is less intrusive on the senses as compared to other paints.
In this post, we will go over everything you need to know about painting your mailbox using acrylic paint and how to do it effectively.
How to Decorate Your Mailboxes with Acrylic Paint?
Today, you can find the popular and unique designs of car paint, murals, DIY wall art, and even canvases being painted onto mailbox posts. Using acrylic paint on your mailbox posts is also an easy and cost-effective way to ensure that the look of your mailbox matches the rest of your home.
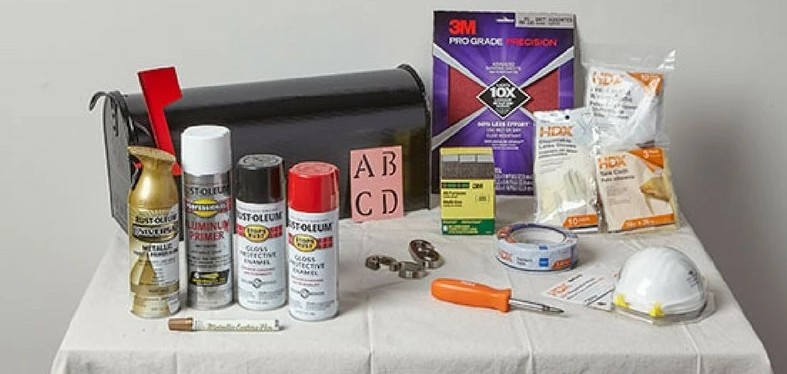
Step 1: Accumulate the Things You need to decorate
Things You’ll Need:
🛠️ Mailbox.
🛠️ Ultra-fine sanding block.
🛠️ Metal primer.
🛠️ Stencils.
🛠️ Dry erase marker.
🛠️ Acrylic paint.
🛠️ Cloth.
🛠️ Clear sealant.
Step 2: Things you need to remember before doing
👍 Before We Begin The first thing that you will need to do is ensure that your mailbox is still attached to your post. This will help to prevent paint from chipping. If your mailbox is broken or missing, it’s best to remove it for the painting.
👍 First, Trim the Paint. The first step in painting your mailbox is to remove the paint from the mail slot area of the mailbox. You can do this by pulling back the paint with a paint scraper or a small paintbrush.
👍 Remove all rust if the metal is old (steel wool, wire brush, rust remover, etc.) Sand the object thoroughly using steel wool or sanding paper, both old and new metal. You must provide something for the paint to “cling to” on the metal, or else it will peel or bubble.
👍 Use vinegar to rinse (just in case any oil manages to escape the DAWN). I don’t bother mixing vinegar with water since it’s dirt cheap.
👍 Finish with a 91 percent isopropyl alcohol rinse. Another inexpensive and well-priced item! My jeweler taught me this trick…the alcohol displaces water, dries fast, and does not leave “mineral stains.”
Step 3:- Prime Your Mailbox Before Painting
I myself used the things when painting the box and I do suggest you also buy it before. It will give a very nice and clear look to your mailbox. For the first step, sand down your mailbox with a sanding block if the current paint is weathered. If you are starting with a new mailbox Spray a metal primer over the areas you have sanded.
1. Scotch Blue Original Multi-Surface Painter’s Tape
Scotch Blue Original Painter’s Tape has been a favorite of DIY and professional painters for over 30 years. Scotch Blue Original Painter’s Tape may help preserve your surfaces while bringing your creative ideas to life.
2. Liquitex 5332 Professional Gesso Surface Prep
At every level of the process, Liquitex acrylic paints encourage creativity. Surfaces such as canvas, wood, paper, and metal benefit from SPMs since they prime and seal them. Custom colours and primers are created with a single coat of our professional gesso.
Liquitex Gesso Surface Prep Medium was used for paint prep. One layer is sufficient for many jobs, including murals. Acrylic paints can be used on a variety of surfaces, including canvas, paper, and wood.
Water-repellent and non-yellowing Liquitex Surface Prep Mediums. Use Water that has been thinned to 25%. To thin the gesso by more than 25%, water and Liquitex Matte Medium are required. Artistry’s Colors 10% Liquitex Heavy Body or Soft Body.
Step 4: Paint on the surface
Just to make the mailbox beautiful, you also need to add some wonderful colors for the mailbox. Here too I will introduce Krylon K01309 Gallery Series Artist.
👍 Allow the paint to dry.
👍 Draw the design and If you make a mistake, wipe it off and start over.
👍 Paint with water-resistant acrylic paint. Allow the paint to dry.
👍 Wipe away any dry erase marks that you did not paint over with a clean cloth.
👍 Seal your paint to protect your design from water and weather.
Have you considered white paint?
White is a traditional option and one that we’ve been able to find using suppliers in Ireland. One of the big issues you will face, however, is the risk of having your mailbox vandalized. But you will not get the classic wood-like look you want with white paint, as the wood structure will not form properly.
Paint also may turn yellow with time, especially if you live in a country with a summer climate.
Step 5: – How to Seal an Acrylic Painted Mailbox
Shake the can of Mod Podge Spray Acrylic Sealer. It is highly recommended to shake the can of Mod Podge Spray Acrylic Sealer.
A clear acrylic sealer, Mod Podge Gloss Clear Acrylic Sealer helps to safeguard your hard work. You can assure that all of your arts and crafts will stand the test of time by treating them with this ground-breaking sealer. This recipe will not run, leak, or yellow because of its crystal-clear look and quick drying time.
This easy-to-use decoupage spray may be applied on any surface to protect anything from paint to wood to stain. Fill your craft closet with this well-known brand of clear acrylic sealer for a professional finish every time you use it.
This multi-purpose sealer may be used to protect acrylic paint projects, home décor items, and decoupage paper creations, among other things. Mod Podge Gloss Clear Acrylic Sealer is an excellent addition to your art materials since it provides long-lasting protection and gloss to all of your creations.
How to Weatherproof a Metal Mailbox?
Unlike your home exterior, metal mailboxes do not have any weatherproofing on them. They just need to survive the regular winds and heavy snow loads that the weather can give them. So how do you weatherproof a metal mailbox?
Keep in mind, your mailbox needs to be able to withstand the strong winds that arrive every winter. To protect the mailbox from wind damage, you will need to put something on the front of the mailbox that will trap the wind so that it cannot blow into the box. Many people use plastic furniture, or a covering made up of heavy cardboard or plastic.
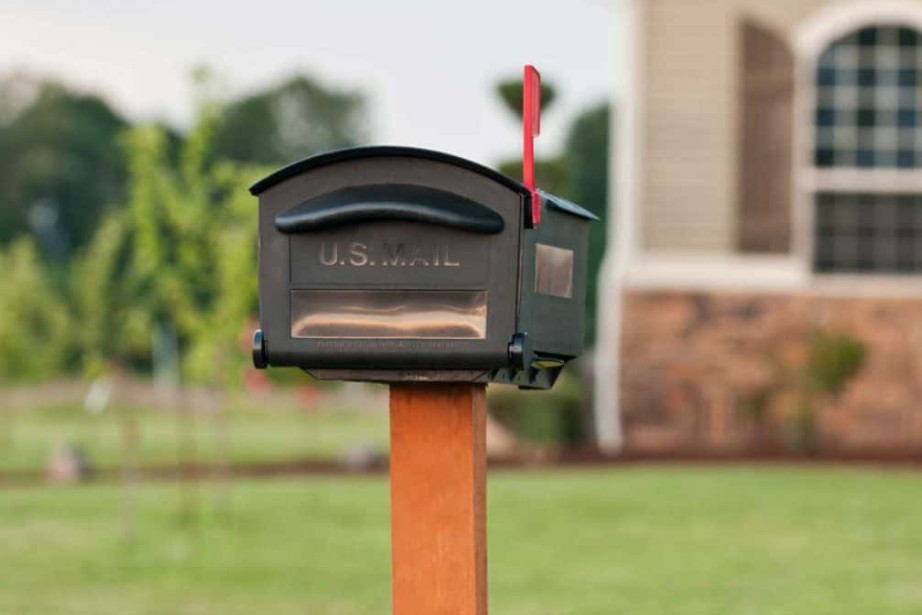
As with your home exterior, if your mailbox is badly damaged, it may be difficult to repair or repaint it. You will probably want to do the repairs yourself in order to save money.
Acrylic paint is the best material for painting your mailbox as it can withstand outdoor weather, such as the rains. Do not forget to sand the mailbox periodically with a sharp sanding block. Do not paint on glass or another flat material like stone.
Do not apply paint to aluminum and other transparent surfaces. Use a layer of good-quality latex sealant (paintable putty). This can be applied after sanding the mailbox. Sealants help give your mailbox a protective coat that prevents water from penetrating. Before applying the paint, make sure you clean the surface thoroughly to avoid color bleeding onto the paint.
How should you Paint a Rusty Mailbox?
In case of rusty mail box first you should thoroughly research whether you can repaint it or discard it. If the rust portion of the mailbox can be removable then you can use a good quality remover for rust treatment. You can give it a slight makeover by painting your mailbox in subtle metallic spray paint.
You can scrap the iron with any scraper or sharp knife. After scraping sand the mailbox with proper sand paper. You can also use Adam’s Iron remover to get rid off small iron particle from the mailbox. Make sure to apply good quality primer for metal surface so that the paint can stick properly to the mailbox surface.
Another Tips : If you want to paint a DIY rustic mailbox, you can cover it in rustic fabric. If you want to paint a DIY rustic design on your mailbox, start by finding a round old wooden cross and drilling a hole in it. Then carefully paint a flower on the wooden cross and store it in a glass jar. You can also fill the glass jar with rocks and add a small dried flower from the garden.
How to hand paint a mailbox?
Use sharp tools to do the job properly. You will need to use a paintbrush and brushes. If your nails are chipped, you might want to skip this step.
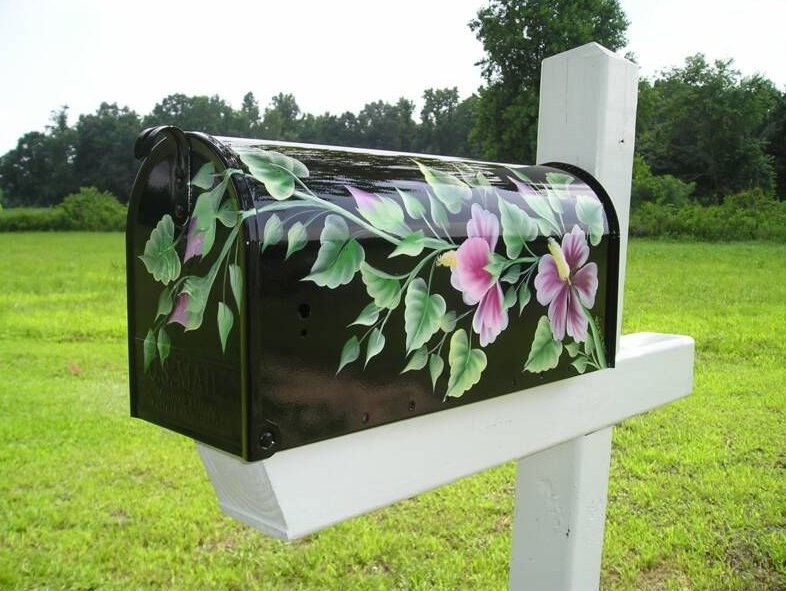
To hand paint a mailbox you are required to follow the steps:
➤ Step 1: Remove the mailbox for the wall and keep your screws handy so that you don’t misplace it. In case you cannot move the mailbox, then cover the surroundings of the mailbox with the help of masking paper.
➤ Step 2: Open up all the parts of the mailbox, such as, flag, hook, latch.
➤ Step 3: With the help of an all-purpose cleaner, clean every part of the mailbox and then rinse the mailbox and let it dry for a while.
➤ Step 4: Remove the rust with the help of a brush, steel wool or sandpaper. Now use Tack cloth to wipe off the dust.
➤ Step 5: Now, cover the parts that you don’t want to paint with the help of painters tape. Use Spray Paint primer and let it dry.
➤ Step 6: After the primer is set, apply two-three quotes of paint on the mailbox.
➤ Step 7: After the mailbox is painted, hook all the parts and screw it onto the wall.
Final Thoughts
I think now you won’t be searching for “can you use acrylic paint on a mailbox?”, as now you know its answer to the core. Let me know your thoughts on the possibilities of painted mailboxes.
Have you ever tried painting your mailbox? And have you painted other structures? Share your thoughts below!


